Some smart people have found that you can turn a TV receiver made by Realtek (RTL) into a Software Defined Radio (SDR).
Here’s a quick write up on how I used my
RTL-SDR V3 receiver to see airplanes flying right
over me using the dump1090 app. FlightAware maintains the dump1090 app in its
current version.
The RTL-SDR is a cheap way to get started with software defined radios.

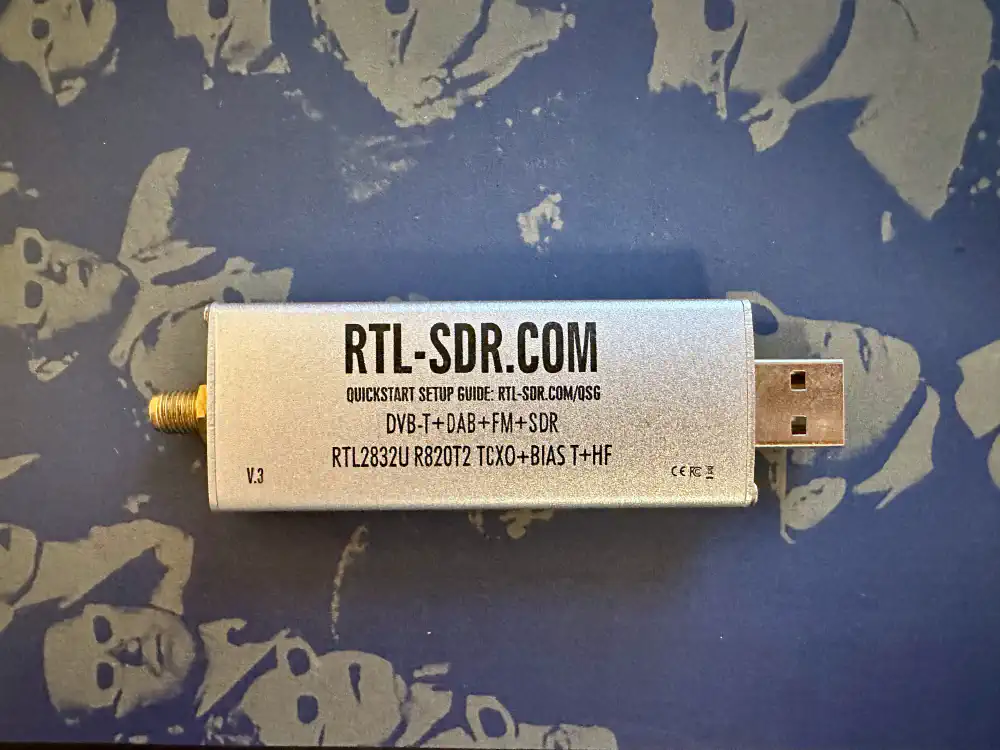
Photo of RTL-SDR receiver which I have purchased Open in new tab (full image size 662 KiB)
I have bought the RTL-SDR receiver in 2017 from a reseller on eBay. Here’s a quick start guide on how to install the necessary drivers and run applications on top of it. Some of the other applications you can run on Linux with the RTL-SDR include:
Driver installation
I am on Debian GNU/Linux 11 (bullseye). The installation went on without any issues, and I followed the steps below. First, I updated my system:
sudo apt update
sudo apt upgrade
After that’s, I made sure that I have following packets on my machine.
sudo apt install git cmake build-essential libusb-1.0.0-dev
Now that the requisites were there, I went on to clone the driver repository and building it.
# I put everything that I make install into a shared folder under
# $HOME/make-install
git clone git://git.somocom.org/rtl-sdr.git $HOME/make-install/rtl-sdr
cd $HOME/make-install/rtl-sdr
mkdir build
cd build
cmake ../ -DINSTALL_UDEV_RULES=ON
I try to put as much of that make install stuff into my .local folder, but
given that this is a Linux device driver, I did the rare thing of running:
# Still in the build folder
sudo make install
# This one is in the manual for reasons
sudo ldconfig
Then, I configured the driver.
# Go back to the root of this repository
cd ..
sudo cp rtl-sdr.rules /etc/udev/rules.d/
# Prevent the wrong driver from being loaded
echo "blacklist dvb_usb_rtl28xxu" \
  | sudo tee -a "/etc/modprobe.d/blacklist-rtl-conf"
I was instructed to restart my machine here, so I ran systemctl reboot. After
restarting, I was able to verify that the RTL-SDR dongle (which I plugged into
a USB port) worked by running the following:
rtl_test -t
This gave me the following:
Found 1 device(s):
  0:  Realtek, RTL2838UHIDIR, SN: 00000001

  Using device 0: Generic RTL2832U OEM
  Found Rafael Micro R820T tuner
  Supported gain values (29): 0.0 0.9 1.4 2.7 3.7 7.7 8.7 12.5 14.4 15.7 16.6
  19.7 20.7 22.9 25.4 28.0 29.7 32.8 33.8 36.4 37.2 38.6 40.2 42.1 43.4 43.9
  44.5 48.0 49.6
  [R82XX] PLL not locked!
  Sampling at 2048000 S/s.
  No E4000 tuner found, aborting.
After that, I was ready to use the SDR dongle.
Installing and running dump1090
Dump1090 has been in development for over 10 years, and many developers have forked and continued maintaining it. FlightAware maintains the version that I used. First, I cloned the repository and built the program.
# I made a project folder under $HOME/projects/sdr
git clone git@github.com:flightaware/dump1090.git $HOME/projects/sdr/dump1090
cd $HOME/projects/sdr/dump1090
make
If libraries are missing here or any other dependencies, refer to the README in the dump1090 repository for more help.
Installing Caddy
Previous versions of dump1090 included a small HTTP server that allowed
viewing Automatic Dependent Surveillance–Broadcast (ADS-B) messages and airplane locations on a map, using the following
invocation:
./dump1090 --net
FlightAware version removed this and now relies on the user running a separate web server and serving content from there. The fork formerly maintained by antirez served a web interface directly.
I decided to use Caddy (v2.6.4) as my web server and
downloaded the binary and
copied it into ~/.local/bin.
Combining Caddy and dump1090, I came up with the following way to run dump1090 and serve an interactive map to the browser:
- Run dump1090 in one tmux pane and make it write messages to a JSON data folder.
- Run Caddy in another pane and serve the
public_htmland the JSON data folder.
I then ran dump1090 using the following invocation:
# json-out is where we write the JSON data, but the web interface expects them
# under http://.../data/, so we configure that in the web server below
./dump1090 --write-json json-out --interactive
Running it in interactive mode presented me terminal eye candy, even before opening up my browser:
Tot:   2 Vis:   2 RSSI: Max -25.0+ Mean -29.2 Min -33.4-  MaxD:    0.0nm+
Hex    Mode  Sqwk  Flight   Alt    Spd  Hdg    Lat      Long   RSSI  Msgs  Ti
────────────────────────────────────────────────────────────────────────────────
AE0488 S                     4975                             -33.4-    6 0
86D2EE A0          ANA667                                     -25.0+   11 0
This already looked like a promising result.
The web server
Then, I created a Caddyfile in the same folder as dump1090 with the following contents:
http://localhost:8080 {
    root * /home/justusperlwitz/projects/sdr/dump1090/public_html
    handle /data/* {
        root * /home/justusperlwitz/projects/sdr/dump1090/json-out
        uri strip_prefix /data
        file_server
    }
    handle {
        file_server
    }
}
Normally, a root and file_server declarations are enough to serve static
files, but in our case we are serving from two different folders, so we use
handle declarations instead.
In my other tmux pane, I ran the following command (with the first pane running dump1090, from the previous section) to start Caddy:
# Still in the dump1090 folder, where the Caddyfile is
caddy run --watch
Result
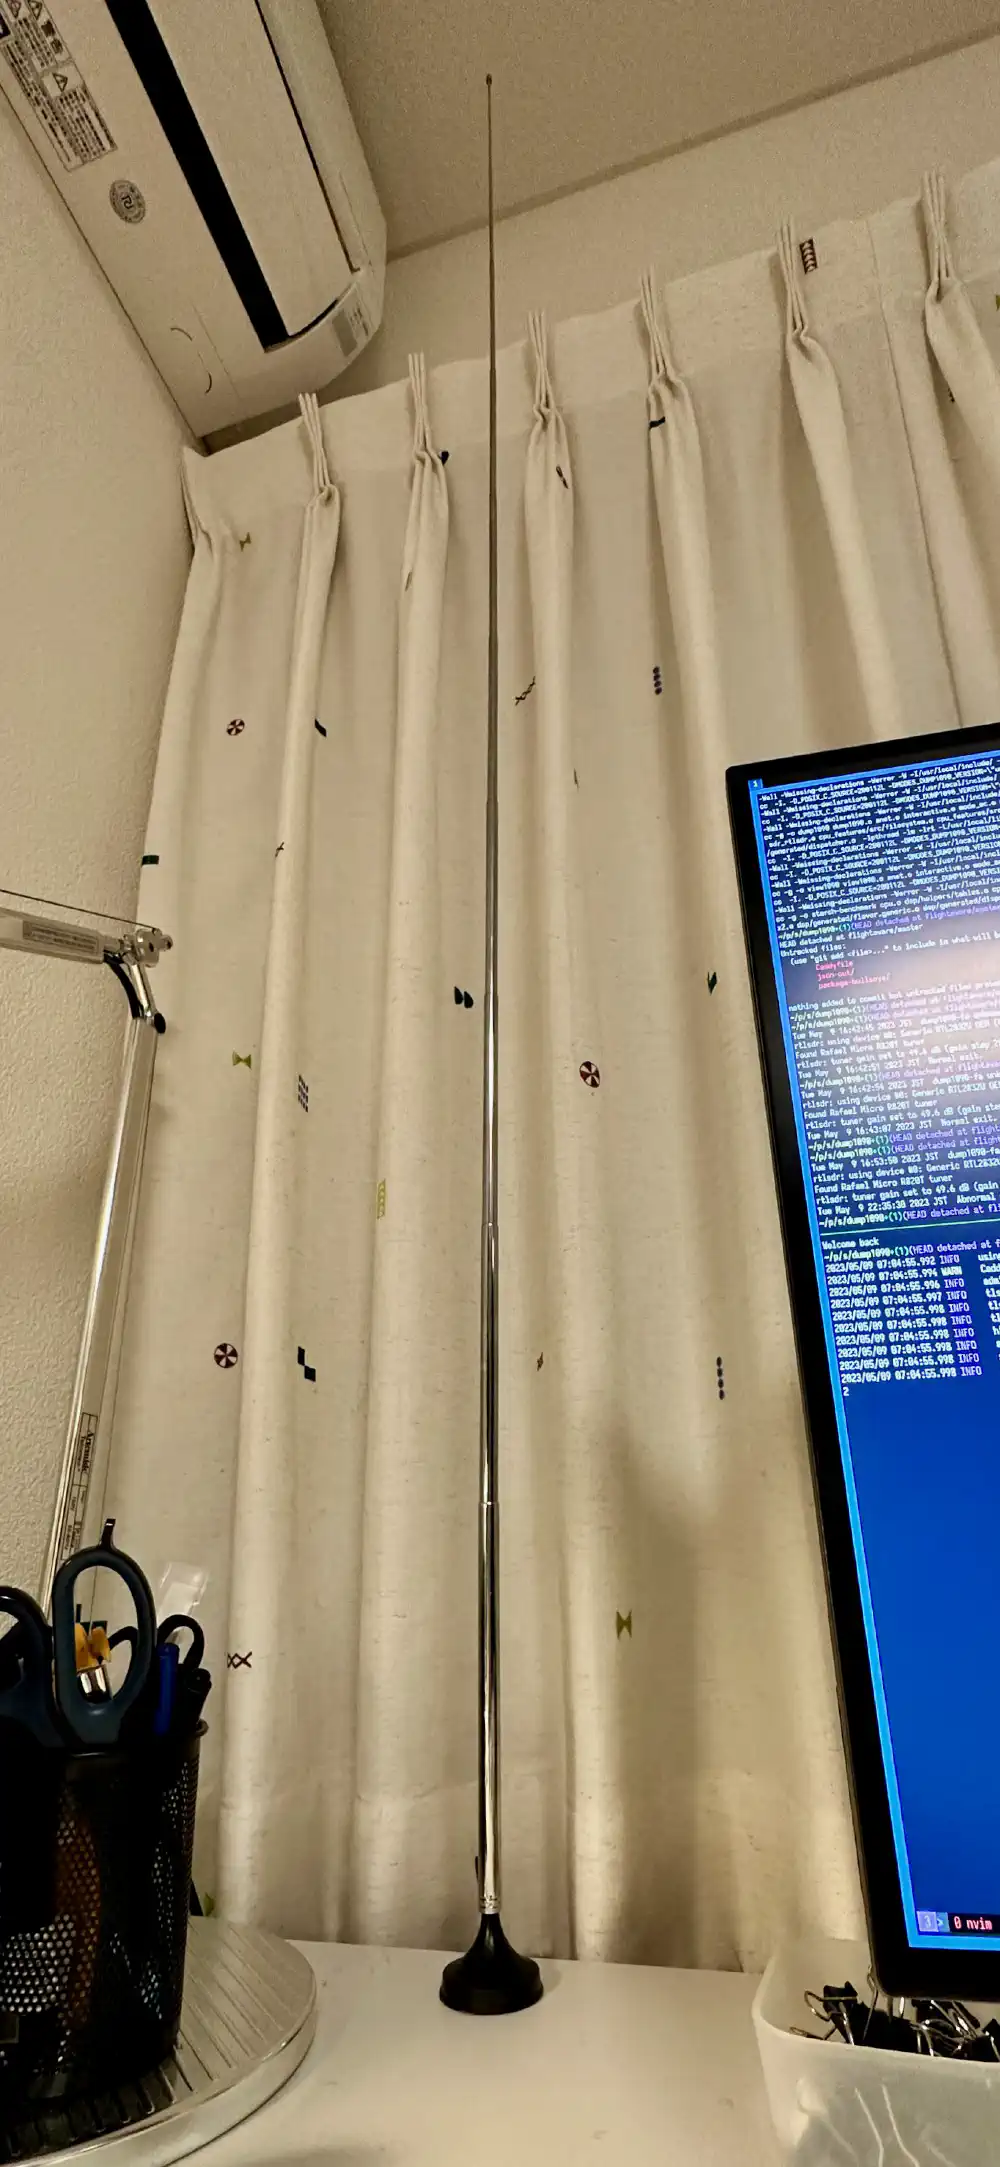
I attached the longest (about 1500 mm) telescopic antenna that came shipped
with the RTL-SDR and was able to pick up ADS-B signals well.

Telescopic antenna, fully extended Open in new tab (full image size 309 KiB)
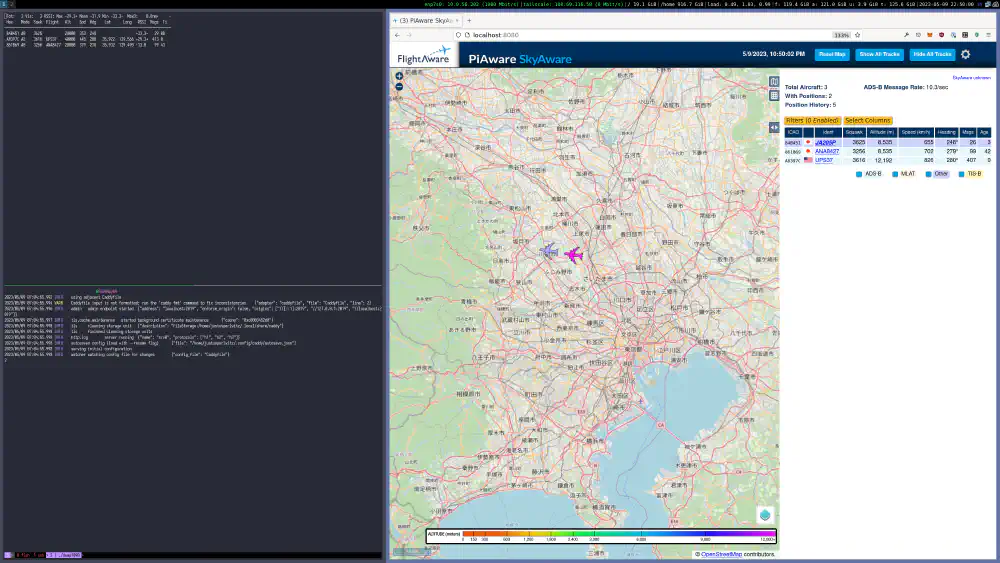
Now, I opened the address http://localhost:8080 in my browser and was able to
see airplanes over me:

Screenshot of tmux running dump1090 and Caddy on left side. dump1090 web interface in Firefox on right side. Open in new tab (full image size 464 KiB)
Given my past experiences with Wi-Fi on Linux, getting another category of wireless device to work without much trouble was a positive experience.